Discover our care tips for the safe and effective use of your candles
nd learn how to repurpose your vessels with creativity and ease.

It all starts with the wick.
Before lighting your candle, trim the wick to approximately 0.5 cm. Repeat this step before each use if needed. A shorter wick helps extend your candle’s burn time and prevents black smoke from forming. For best results, use a wick trimmer or a pair of scissors to maintain your candle wicks properly.
Burn time
For optimal performance, do not let your candles burn for more than 4 consecutive hours. Allow them to cool for at least 2 hours before relighting, and always remember to trim the wick beforehand.
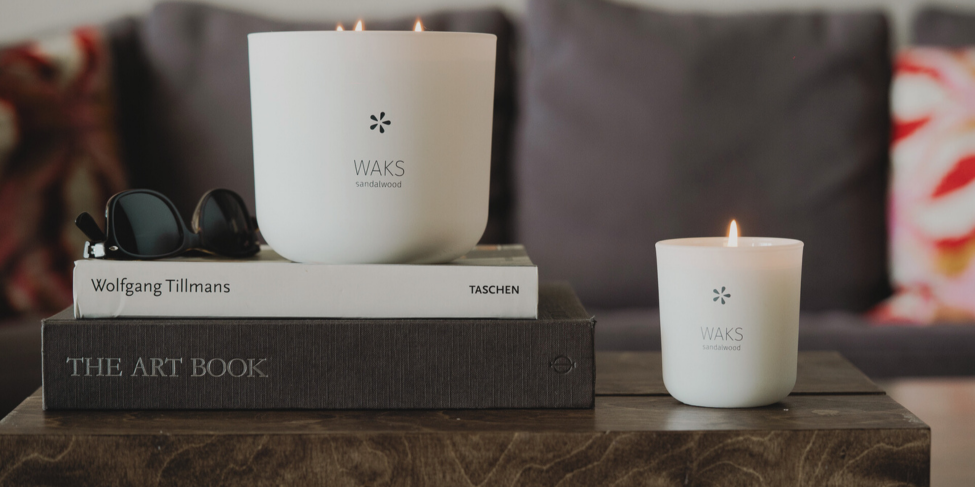
The first burn matters
The first time you light your candle is key to maintaining its shape and ensuring an even, clean burn. For single-wick candles, allow the entire surface to melt evenly before extinguishing it. If your candle has multiple wicks, it’s best to light all of them at the same time. You’ll find specific instructions for multi-wick candles further below. Before snuffing out a multi-wick candle, once again make sure the entire surface has become liquid. This promotes an even burn, enhances the fragrance throw, and extends the life of your candle.
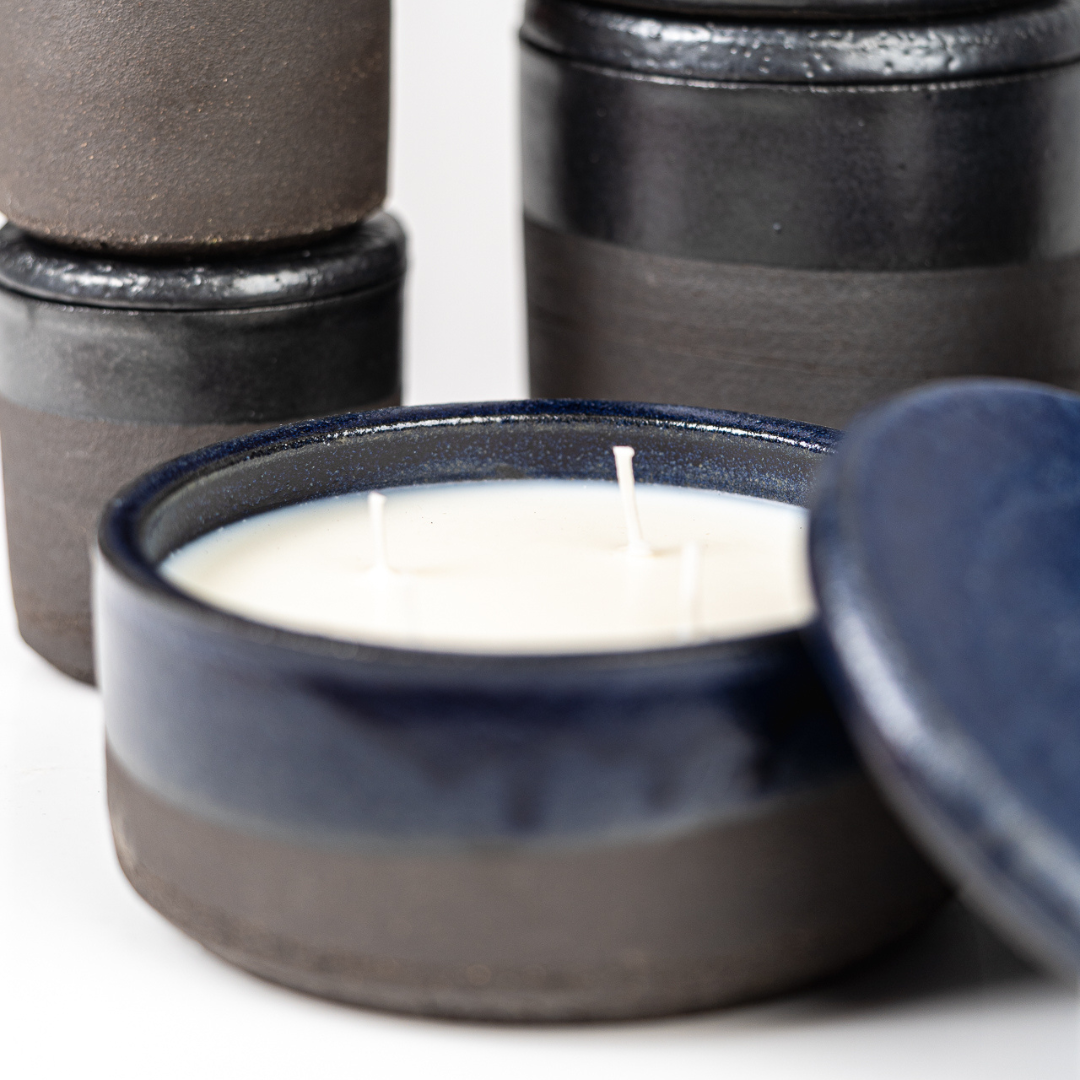
The final burn
For safety reasons, it’s essential to stop using your candle when only 1 cm of wax remains at the bottom of the vessel. This helps prevent the vessel from overheating and potentially cracking due to excessive heat.
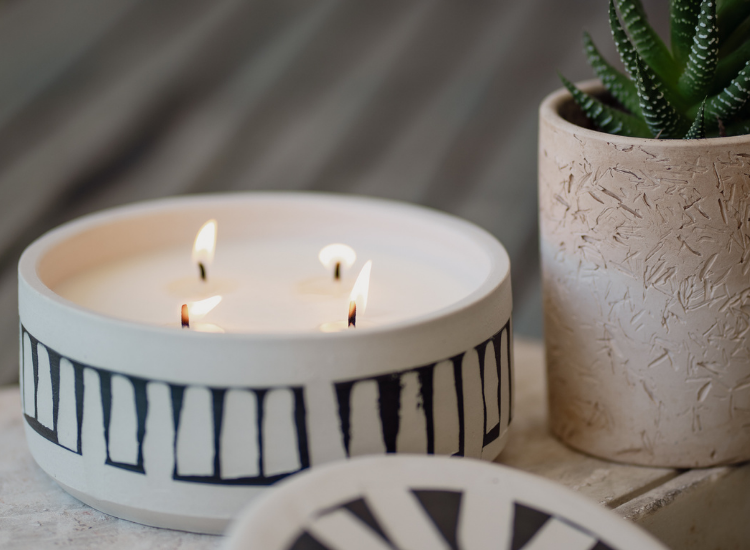
Multi-wick candles
Before lighting, ensure that each wick is trimmed to no more than 0.5 cm. This helps achieve a clean burn, avoiding excessive flame or smoke.
Always light all wicks at the same time. This ensures an even burn and maximizes the candle’s lifespan.
During the first burn — and each time you use it — allow the wax to melt across the entire surface, not just around the wicks. This prevents tunneling and supports even performance.
After each use, let the candle cool and fully solidify before lighting it again.
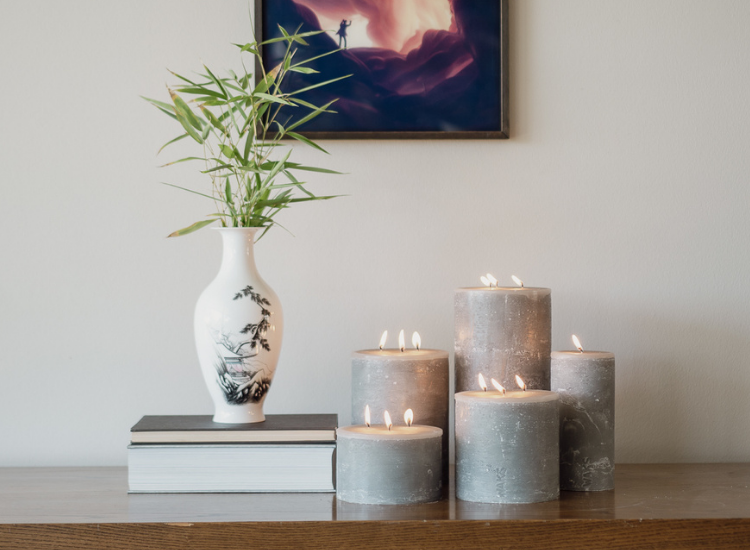
Pillar candles with multiple wicks
Before lighting your candle, trim each wick to a height of no more than 0.5 cm.
Always light all wicks simultaneously to ensure an even burn.
Let the candle burn long enough for the entire surface to become liquid — not just the area around the wicks.
Caution! To avoid wax overflow, extinguish the candle when the melted wax reaches about 1 cm from the outer edge.
Allow the candle to cool completely before relighting.
If using more than one candle, maintain a distance of at least 7 cm between them to prevent overheating.
If placing your candle inside a lantern, ensure there is sufficient ventilation for safe burning.
Discontinue use when approximately 1 cm of wax remains at the base.
Always place your candle on a stable, heat-resistant surface or on a tray.
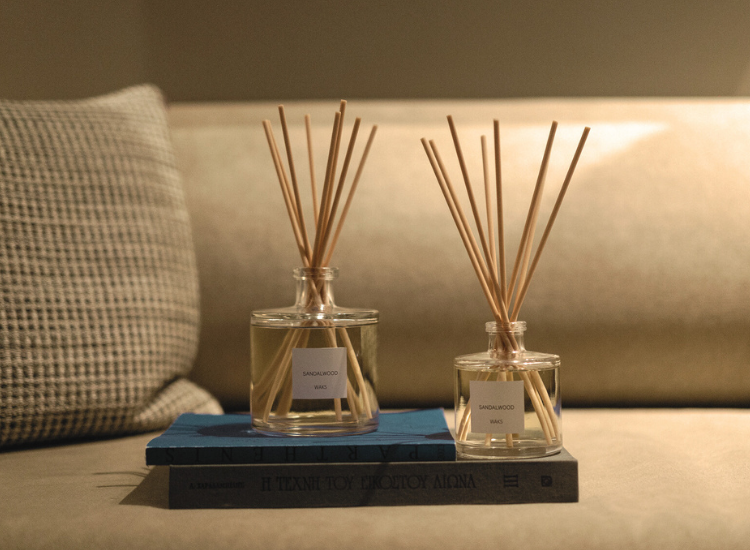
Reed diffusers
Place the rattan sticks into the bottle to begin diffusing the scent into your space.
Wait about 5 minutes, then flip the sticks to release a more immediate and intense fragrance.
Flip the sticks 1–2 times per week, or whenever you notice the scent starting to fade.
To adjust the intensity, remove a few sticks for a more subtle aroma, or add more for a stronger scent throw.
How to clean your favourite vessel
For safety reasons, always stop using your candle when only 1 cm of wax remains at the bottom of the vessel. To remove the leftover wax and prepare your vessel for reuse, you can choose one of the following methods:
- Place the vessel in the freezer for a few hours. Once the wax hardens, turn the vessel upside down — the wax should pop out easily.
- Set the vessel in a bain-marie (hot water bath). The remaining wax will melt, and you can safely pour it out. Use a paper towel to wipe away any residue, being careful not to burn yourself.
- Pour boiling water into the vessel. The remaining wax will melt and rise to the surface, allowing you to remove it easily once cooled.
With any of these methods, your vessel will be clean and ready to be beautifully repurposed.
A second life for what we’ve loved
With a little imagination, our empty vessels are transformed into everyday works of art—ready to take on a new role in our lives. They carry memories of moments that were uniquely ours—scents, images, fragments of our personal story. By thinking creatively, we give them new meaning: practical, aesthetic, or even symbolic.